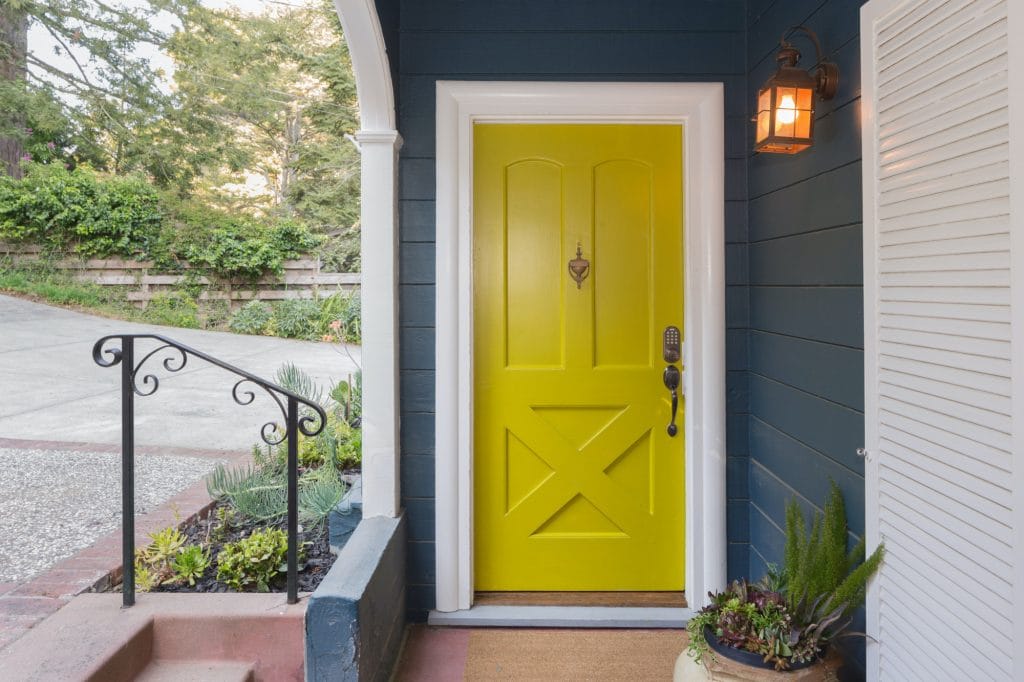
Nothing quite spruces up the look of a property like a sharply painted front door.
Painting your front door needn’t be a difficult task. In fact, it is perfectly possible to paint your door without removing it from its hinges.
If you have been wondering how to paint your front door, then this guide is for you. Read on to discover the key stages you need to get a great-looking front door.
Benefits Of Painting Your Front Door
If your front door is worn out, outdated, or clashes with the overall look of your home, painting it can give it a modern and updated appearance. It can transform the entire entryway and make it more inviting. In addition, certain paint colors, especially lighter shades, reflect heat from the sun, particularly during hot summer months, contributing to better energy efficiency.
Exterior doors are exposed to various weather conditions, such as sunlight, rain, and snow. So adding a fresh coat of paint serves as a protective barrier, preventing moisture, UV rays, and other elements from damaging the door’s surface and causing deterioration.
Moreover, high-quality exterior paint can improve the durability of your front door, extending its lifespan. It helps to resist cracking, peeling, fading, and other common issues with older doors. The smooth finish of the paint makes it simple to wipe away dirt, dust, or stains, keeping your door fresh and well-maintained.
5 Ways To Paint Your Front Door
Before painting your front door, it is essential to choose the right type of paint suitable for the material of your door and consider any restrictions or guidelines imposed by homeowners’ associations or local regulations.
You can paint your front door on your days off from work. If you’re too busy to paint your front door and other exterior surfaces, you can hire a professional Loveland painter or one in your area to help tackle this task.
Here are the steps to paint your front door:
1. Remove All Attachments
When you paint any piece of furniture, you need to remove all the metal elements from the door before you start to paint. This includes the handle, knocker, and any numbers if you have them. Anything that you can not remove should be covered with tape once you have completed step 3.
You need to do this because it will give you a flat and even work surface to paint on. It will allow working in straighter lines without having to curve around any elements. It will also protect your door furnishings from any paint drips when you are painting the door.
2. Clean the Door Thoroughly
As the entranceway to your home and an exterior door, it is likely to have gathered a fair bit of dirt and grime over the years. Be sure to clean the door all over, especially in any little corners where decorative features meet.
You can clean simply with a wet cloth and warm soapy water. You need to make sure all the grime is removed before you move on to the next stage. Removing any dirt now will make your job much easier later on.
3. Sand Down
Sanding is an essential part of the process to make sure you can remove as much of the old paint as possible before you paint a fresh coat. To remove it, you will need some sandpaper, but the grit level of the paper will depend on the type of paint that has been used.
With a cotton ball, run part of the painted area with some denatured alcohol that you can buy in most DIY stores. If the paint comes away, then you know it is water-based. If it doesn’t, then it is oil-based. Water-based paint will need fine sandpaper and oil-based medium-grit paper.
4. Time to Prime
As anyone giving out good painting tips will tell you, priming is essential to getting a good finish. It will cover any old paint that you could not remove and provide a nice surface for the new paint to stick to.
Ensure you keep the primer surface even all over, as any uneven patches will show up when you apply the paint. Once primed, the door will need at least 24hrs to dry before you can start to paint.
5. Paint Your Door
You can apply the color of your dreams to the door with either a roller or a brush, whichever you find easiest. Ensure that you smooth out the finish and don’t let any drips roll down the door to create streaks.
You will likely need two coats of paint to get the perfect look, so be sure to wait at least 24 hours between each coat.
Understanding How to Paint Your Front Door
That’s it. Once it is dry, your door will look fabulous. You can reattach all the metal parts you removed and sit back and enjoy your hard work.
If you enjoyed this guide on how to paint your front door, then please check out some of the other interesting guides we have on our blog.


